 IT Playbook
Learning
Lessons
Every page of a course shares one layout. This page goes through it part by part: the top bar, the sidebar, On this page, the lesson itself, term definitions, figures, the Knowledge Check, moving between pages, and what a locked page shows.
The lesson page at a glance
On a computer, a lesson page has five parts:
- The top bar, across the top: the way home, where you are in the course, and your account.
- The sidebar, on the left: every page of the course, with your progress marked on each.
- The lesson, in the middle: the title, the text and figures, and the Knowledge Check at the end.
- On this page, on the right: the lesson's sections, for jumping between them.
- The audio bar, along the bottom: the narration. It has its own page: The audio bar.
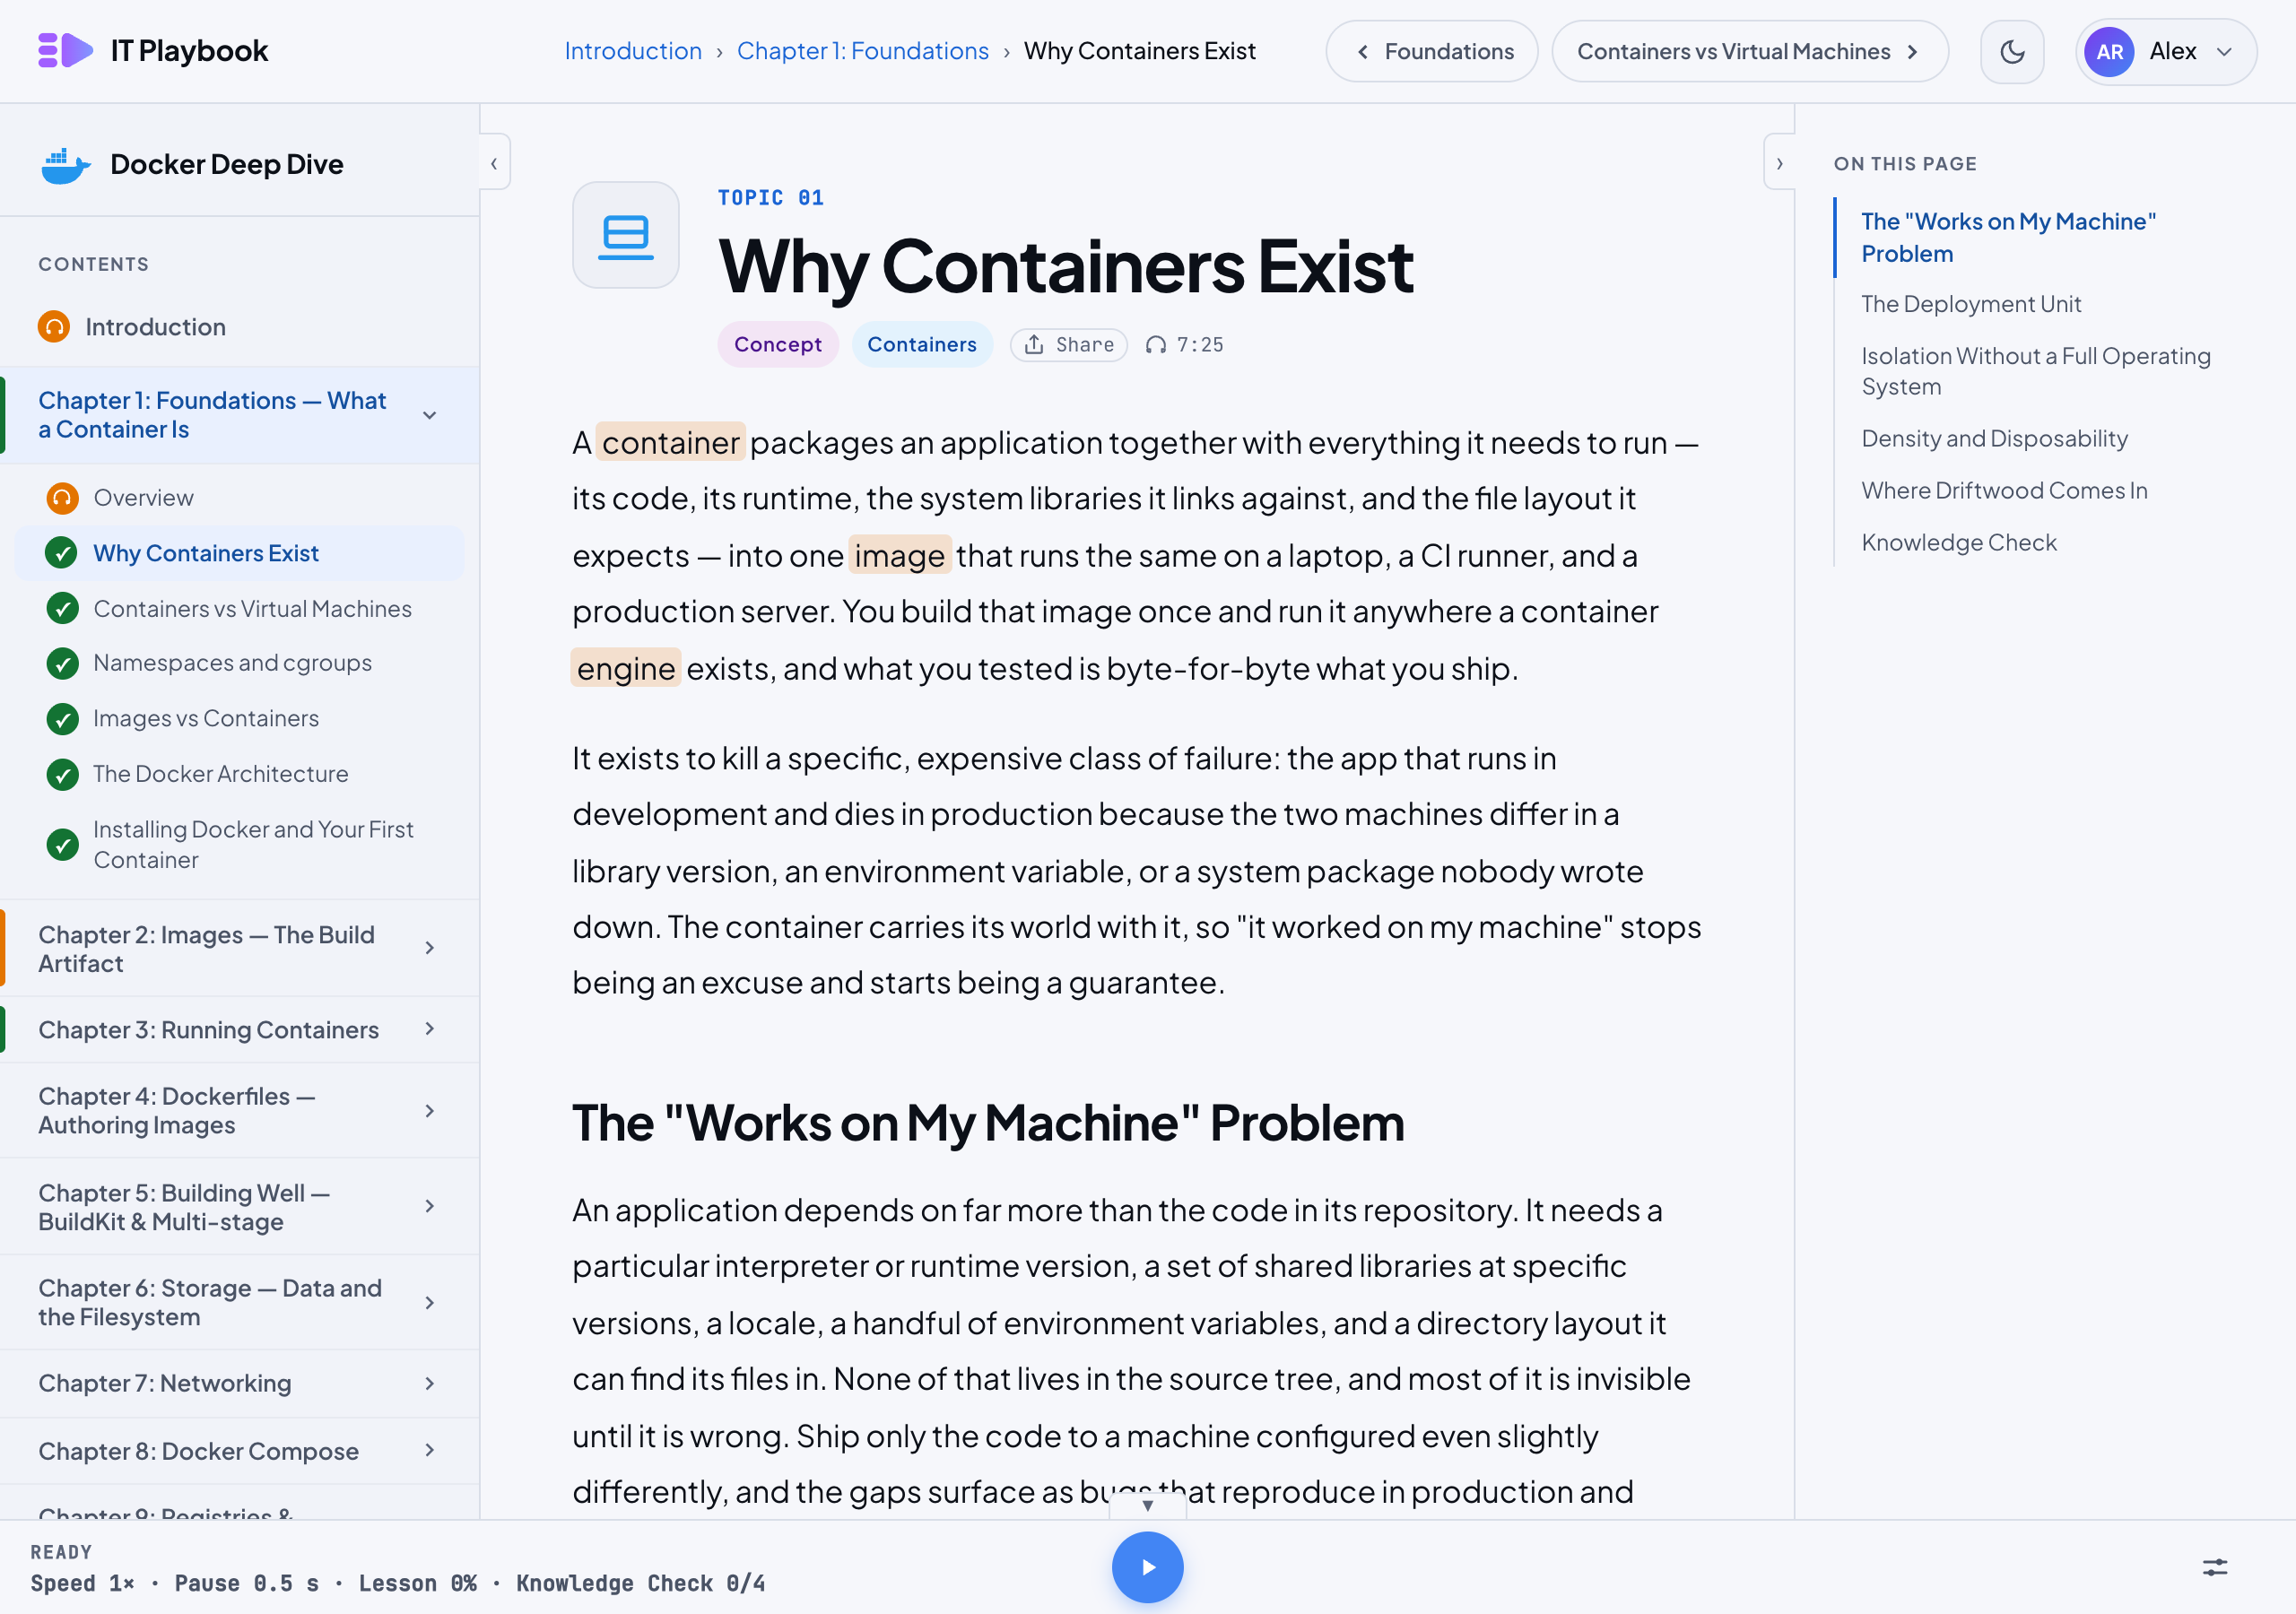
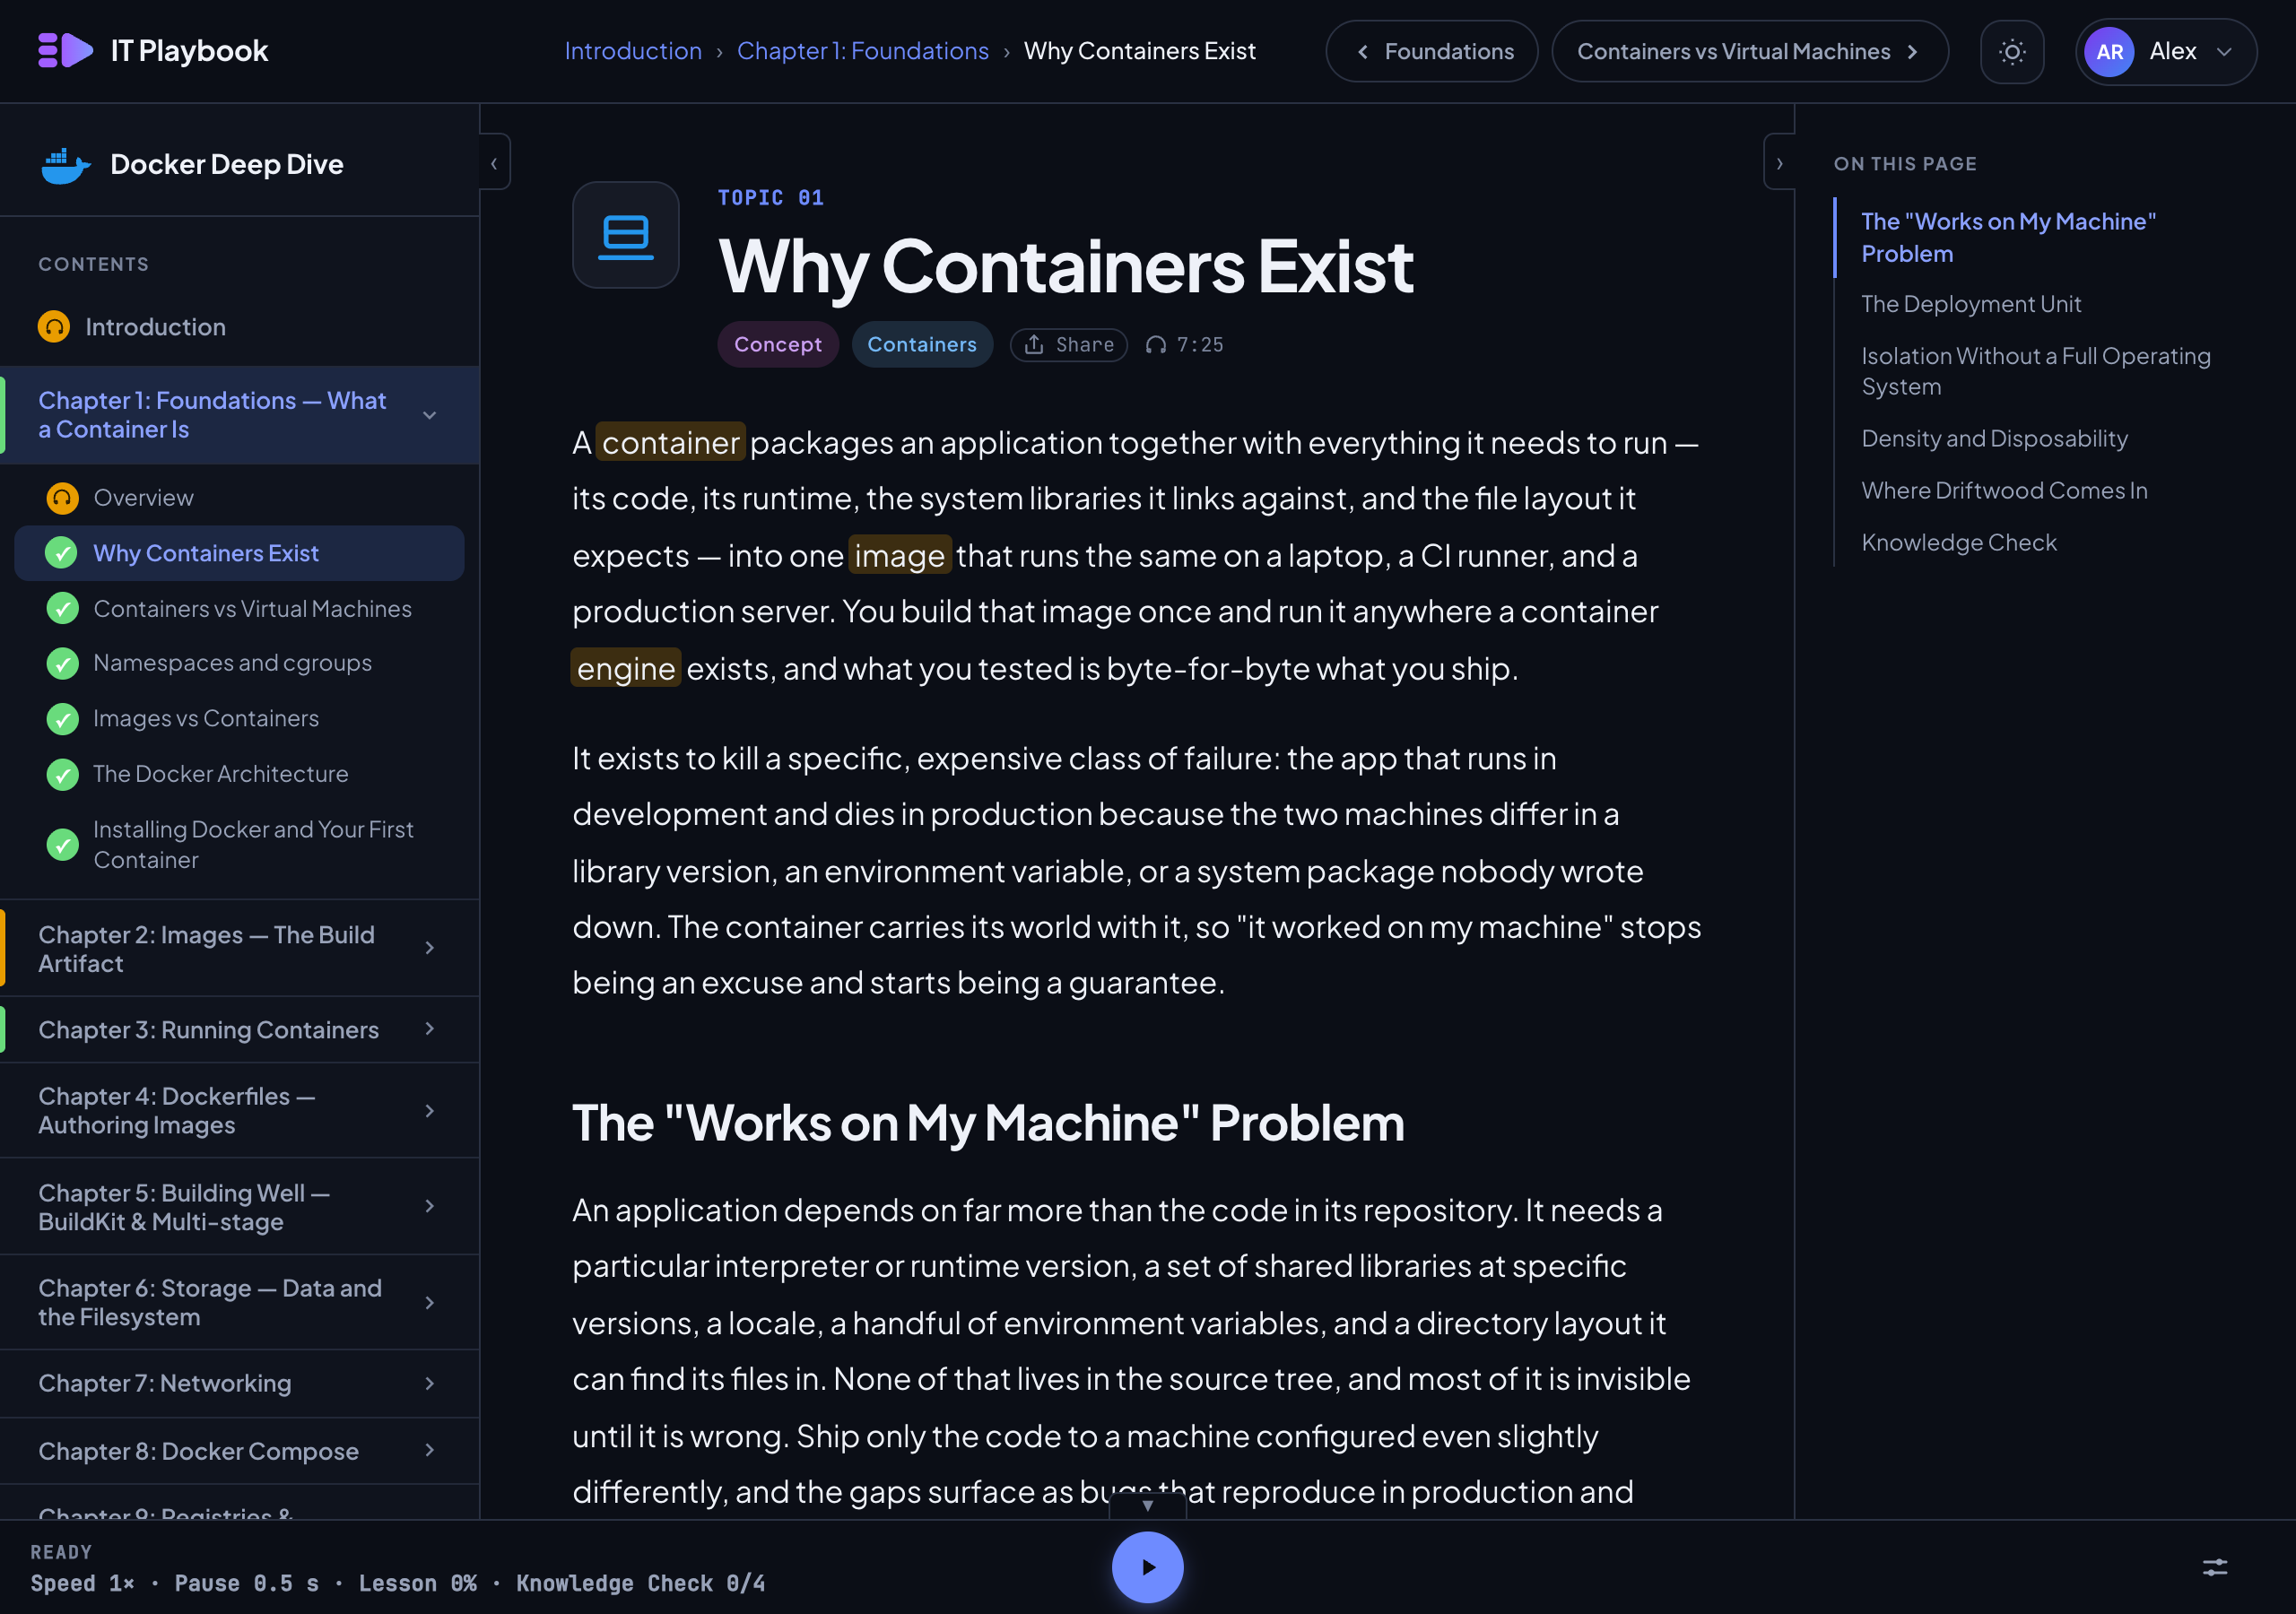
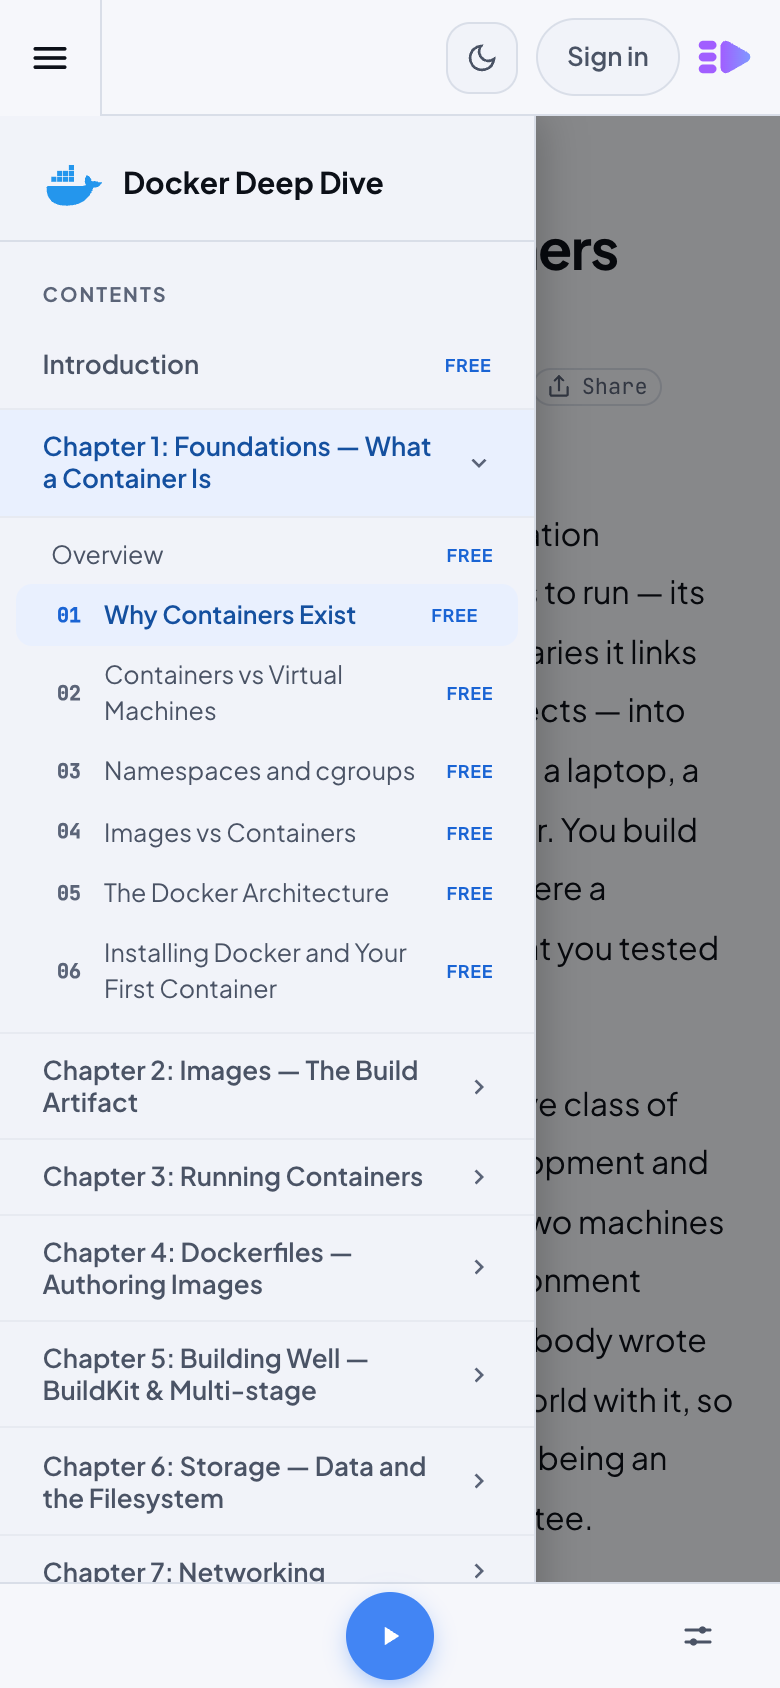
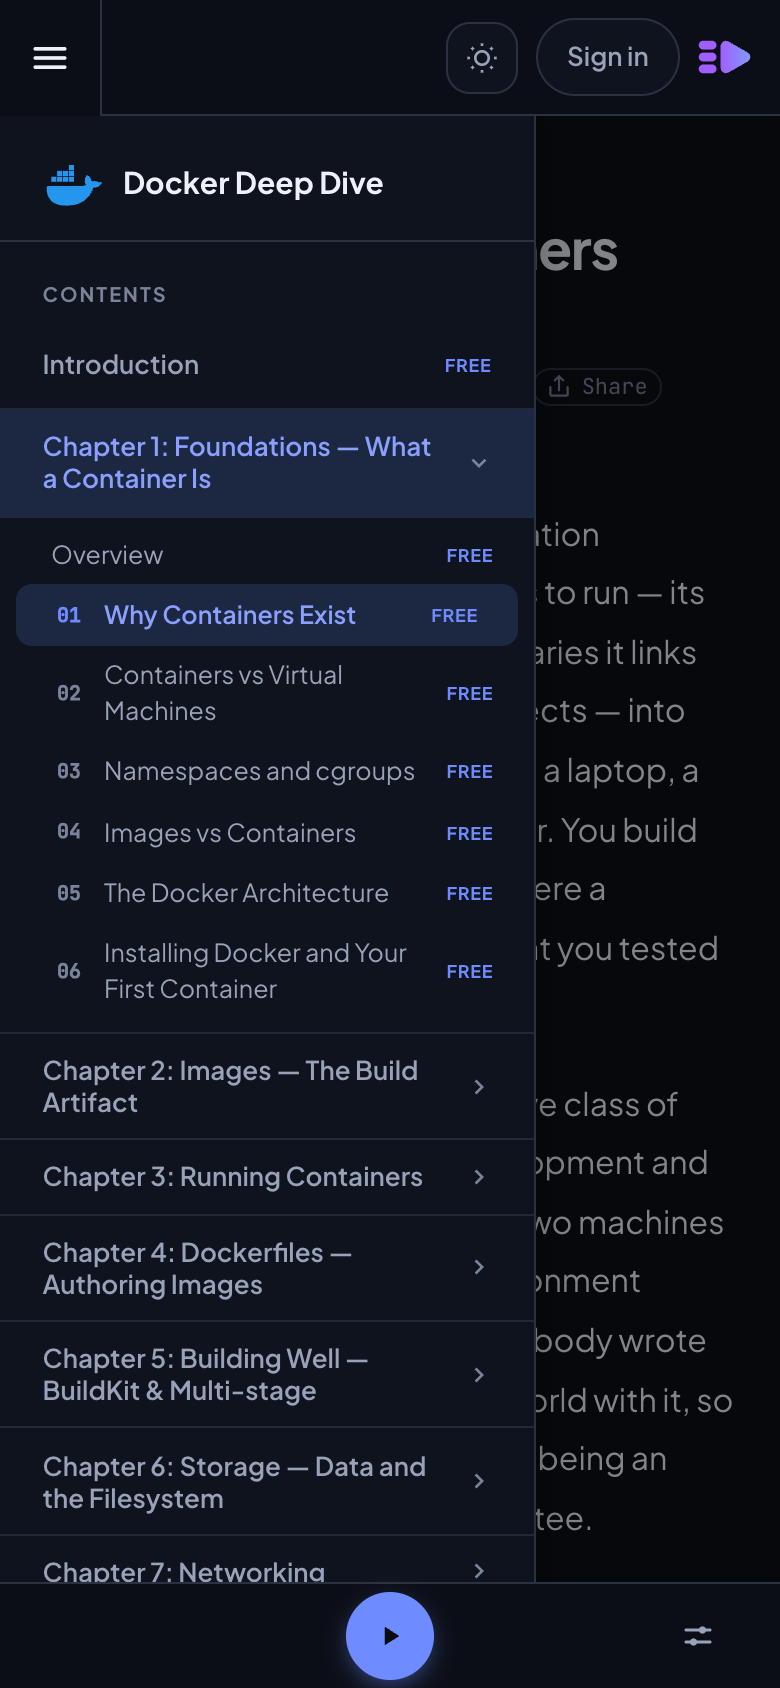
On a phone, or any window narrower than 768 pixels, the sidebar is folded away behind a menu button at the top left, On this page is not shown, and the audio bar keeps only Play and the settings button. The Introduction, the chapter Overviews and the Flashcards page use the same layout.
The top bar
From left to right on a computer:
- IT Playbook with its logo. Signed in, it takes you to your dashboard; signed out, to the home page.
- The breadcrumb in the middle, such as Introduction › Chapter 1: Foundations › Why Containers Exist. The parts before the current page are links back up the course.
- The previous and next pills, such as ‹ Foundations and Containers vs Virtual Machines ›. They do the same as the Previous and Next cards at the bottom of the page.
- See plans, only if you do not have a membership. It opens the plans on the home page and remembers this lesson, so that after paying you come back to it. On the free course of the month, if you are signed out, it is a green button inviting you to sign in, since the course is free for you.
- The theme button, a moon or a sun: see Light and dark.
- Sign in, or, once you are signed in, your picture or initials and your first name.
Click your name to open the account menu. It shows your full name and email, then links to Dashboard, Settings, Support and these help pages, and at the bottom Sign out, which signs you out and takes you to the home page.
On days you have reached your daily goal, a small flame sits next to your name. Point at it and it says Daily goal reached. See Daily goal.
On a phone the bar is shorter: the menu button for the sidebar on the left, and the theme button, your account and the IT Playbook logo on the right. The breadcrumb, the pills and See plans are left out; the Previous and Next cards at the bottom of the page and the sidebar cover them.
The sidebar
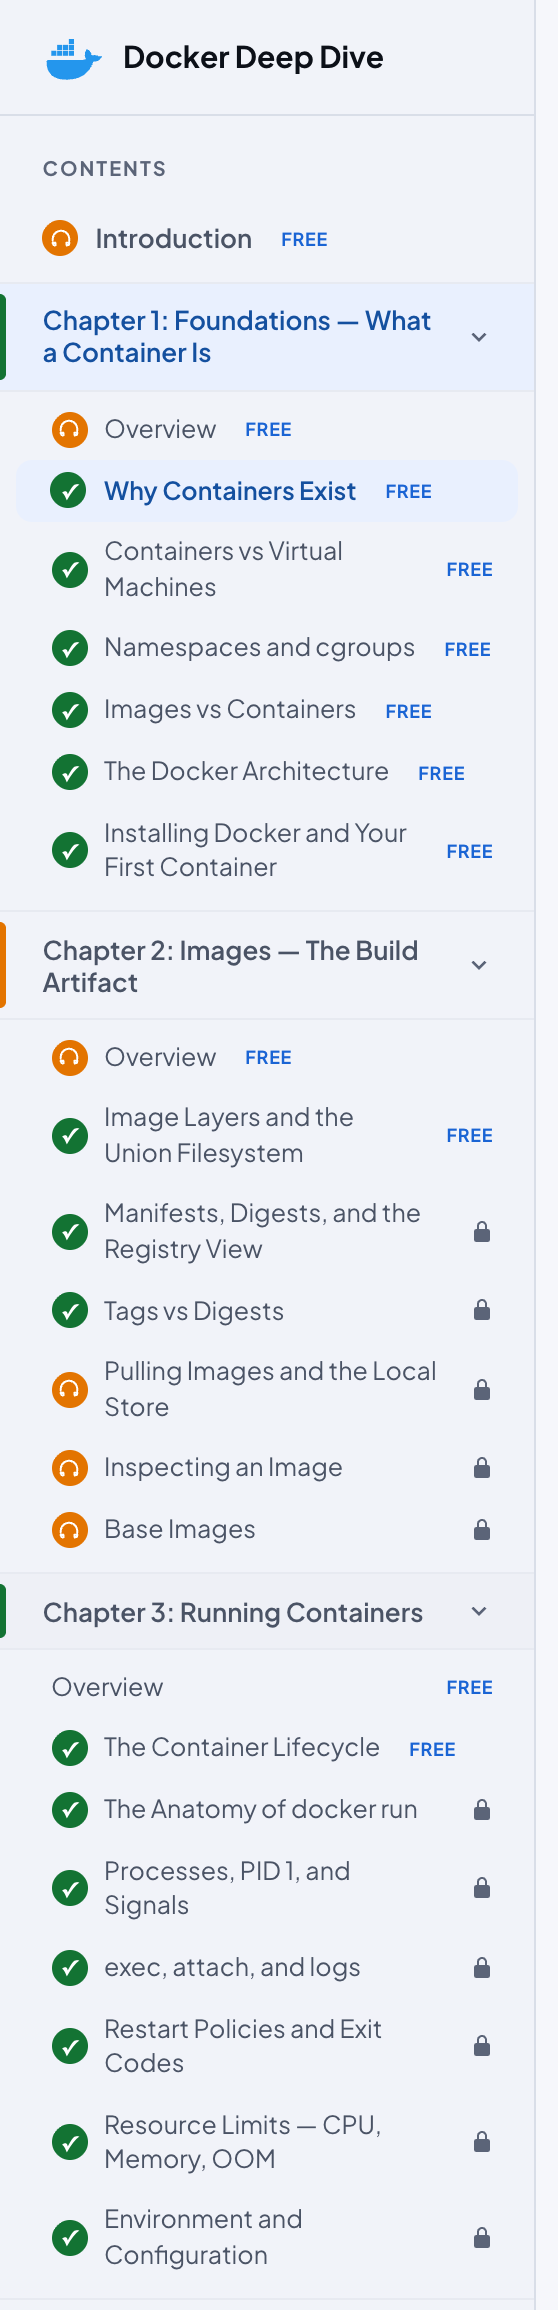
The sidebar lists the whole course, from top to bottom:
- The course's icon and title.
- Contents, then the Introduction.
- One row per chapter, with its full title and an arrow. Click a chapter to open or close it. Inside are Overview and the chapter's lessons, numbered 01, 02 and on.
- Flashcards, with a cards icon: the course's trainer. See Flashcards.
- Reset progress, at the very bottom, once you have some progress in the course to reset. See Starting a course again.
The page you are on is highlighted, and its chapter is open. The first time you open a course, chapter 1 is open as well.
Hiding the sidebar:
- On a computer, the sidebar is shown. A small ‹ tab on its right edge hides it and gives the lesson the full width; › brings it back.
- On a phone, it starts hidden. The menu button at the top left slides it over the page; tap the darkened page beside it, or the button again, to close it.
Your choice is kept on this device only. If the course list fails to load, the sidebar says The course list could not be loaded. with a Try again button.
Ticks, headphones and rails
As you work through a course, marks replace the lesson numbers:
- A green tick: the lesson's Knowledge Check is passed.
- An amber headphone: the page has been listened to in full. The Introduction and the Overviews can get it too. A green tick wins over a headphone.
- A green rail along a chapter's row: every lesson in it has its quiz passed. An amber rail: every page in it, the Overview included, has been listened to in full.
- A thin bar under Flashcards, once you have opened the trainer on this device: green for cards you know now, amber for cards to review, and the rest for cards not seen yet.
What each mark counts toward is explained in Marks in the sidebar.


Locks and free tags
Without a membership, the right side of each row says whether you can open it: a small free tag on free pages, and a lock on the others. Point at them and they say Free lesson and Subscribe to unlock. Members see neither.
A locked row still opens its page. The page then explains itself in place: see Locked pages. Which pages are free is listed in What is free.
On this page
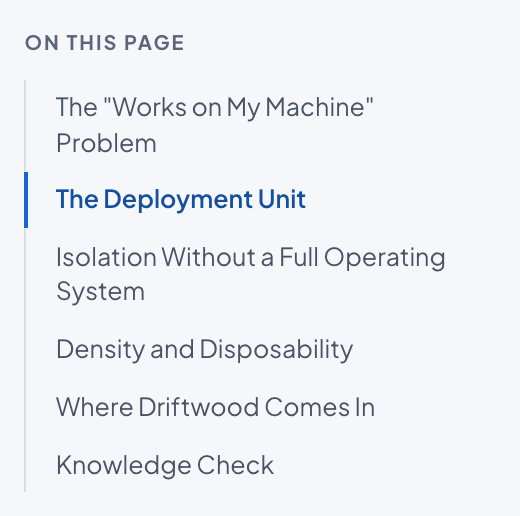
On the right of the page, On this page lists the page's section headings. On a lesson the last one is Knowledge Check, so it takes you straight to the quiz.
- The section you are reading is highlighted, and the highlight moves as you scroll.
- Click a heading to scroll to it. The page's address changes to point at that section.
- A small › tab on its left edge folds the panel away and widens the reading column; ‹ brings it back. Your choice is kept on this device only.
The panel appears only on pages with at least two sections, and only in windows wider than 1080 pixels.
Reading a lesson
A lesson opens with a header: the chapter's icon, the lesson's number such as Topic 01, its title, and a row of tags. Two more items join the tags:
- The narration length: a headphone icon and a time such as 7:42, how long the narration runs at normal speed.
- Share: see Sharing a lesson.
Below the header come the text, divided by section headings, and the figures. Code is shown in blocks and is not read aloud. Along the way are side boxes, each with a coloured heading:
- Common Mistakes, called Common Confusions in beginner courses: the errors people really make, and what they cost.
- Best Practices: what to do instead.
- X vs Y boxes, such as Declarative vs Imperative: two things that are easy to mix up, side by side.
- Why It Matters: what the idea changes in practice.
After the text, many lessons have a Comparable tools row (Comparable services or Comparable concepts in some courses) that names the alternatives and how each differs. Then come the Knowledge Check and the Previous and Next cards.
A few things to know while you read:
- Text size. A−, A and A+ in the audio bar's Player settings set the reading size to 90%, 100% or 140%. It changes the text you read and leaves menus and buttons alone. See Text size, or set it in Settings, Appearance.
- Wide tables scroll sideways inside their own box instead of widening the page.
- Click any paragraph to move the narration there. See Jump to any paragraph.
- Highlighted terms open a short definition: see Term tooltips.
Term tooltips
Each course has a glossary, the same terms its flashcard deck is built from. The first time a glossary term appears on a page, it is marked with a light amber background. Later mentions on the same page are left plain, and the next page marks its own first mention again.
- Point at a term and its definition appears in a bubble above it. Move away and it goes.
- Click or tap a term and the bubble stays open while you scroll. Click the term again, click anywhere else or press Escape to close it.
- With the keyboard, Tab to a term and its definition opens. Enter or Space closes and reopens it, and Escape closes it.
Terms are never marked inside code, links, buttons, headings, figures and their captions, or quiz questions.
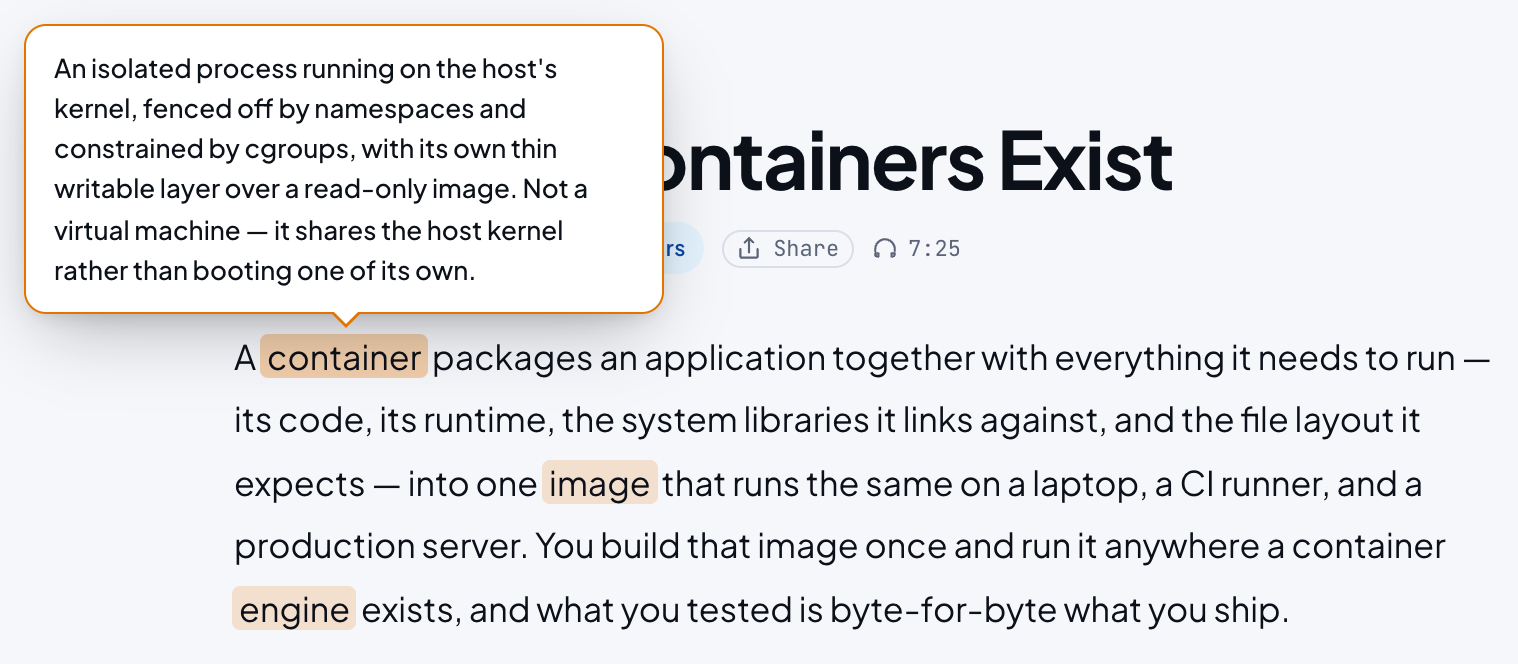
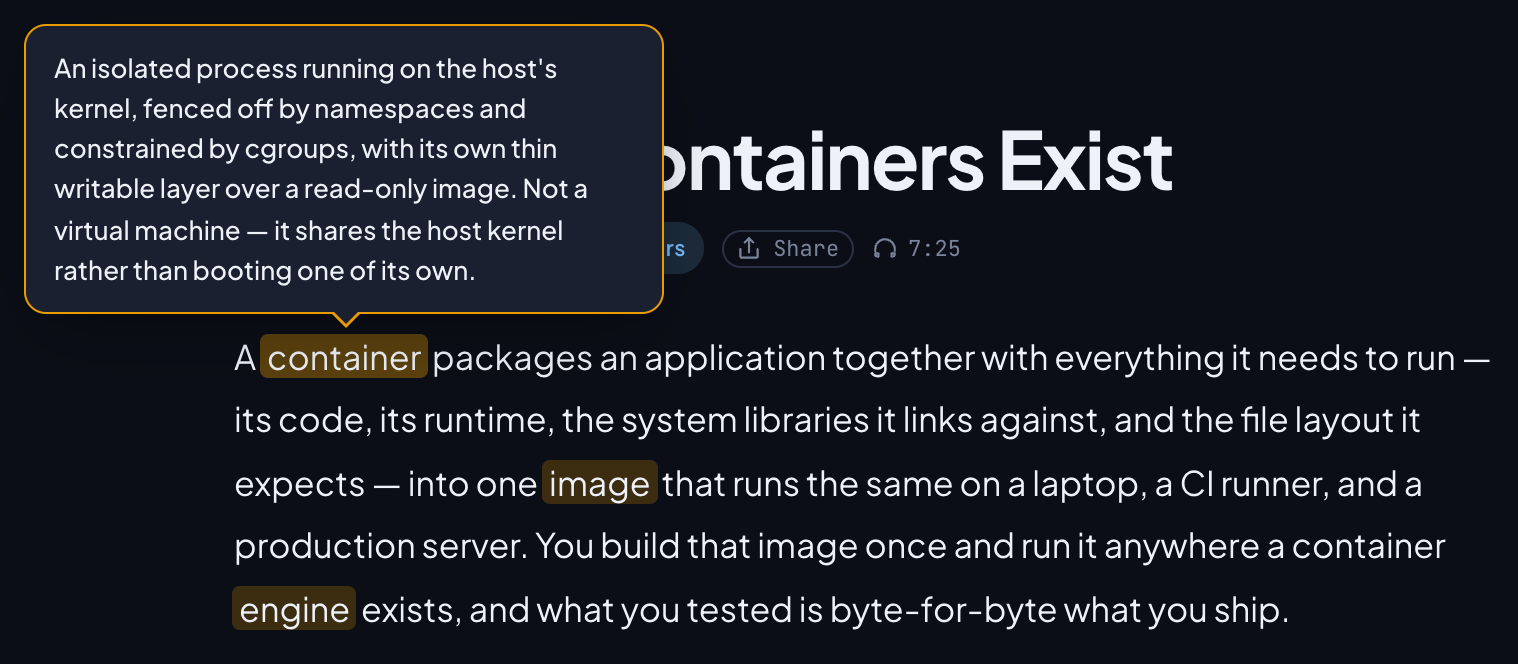
By default the narration keeps going while a definition is open. To have it wait while a definition is clicked open, switch on Pause on definitions in Player settings, or Pause on definition popups in Settings, Audio playback defaults. It is off by default. See Pausing for definitions.
Figures and live figures
Most lessons have at least one figure. Many parts of a diagram carry an extra note: point at a part, or Tab to it, and a small bubble explains it. Figures fade in as you scroll to them, unless your device is set to reduce motion.
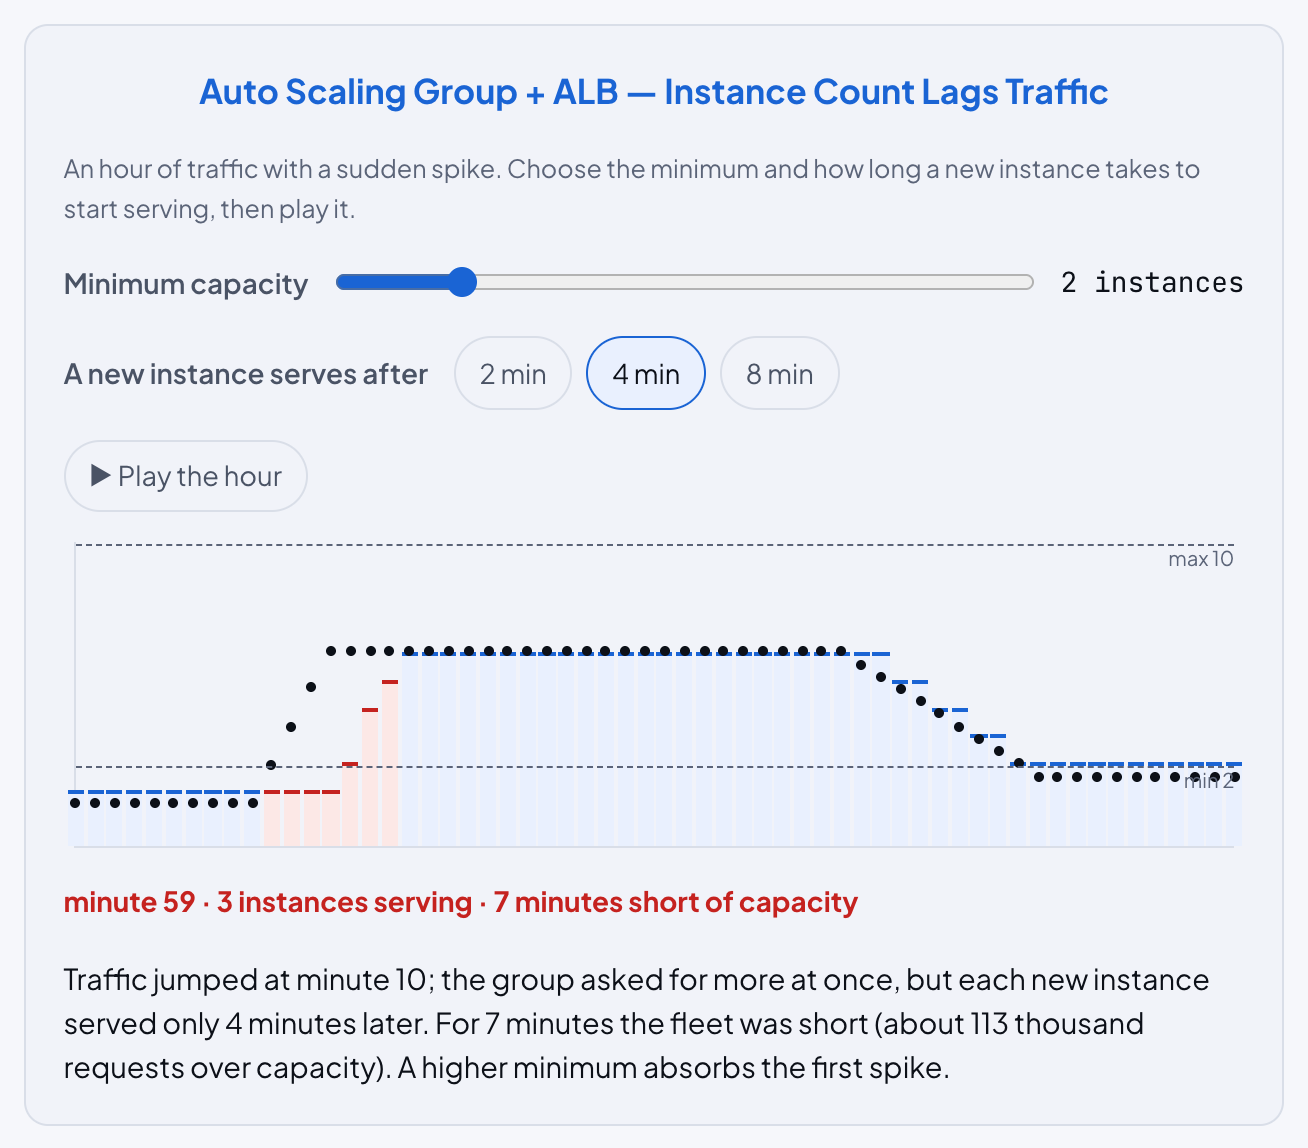
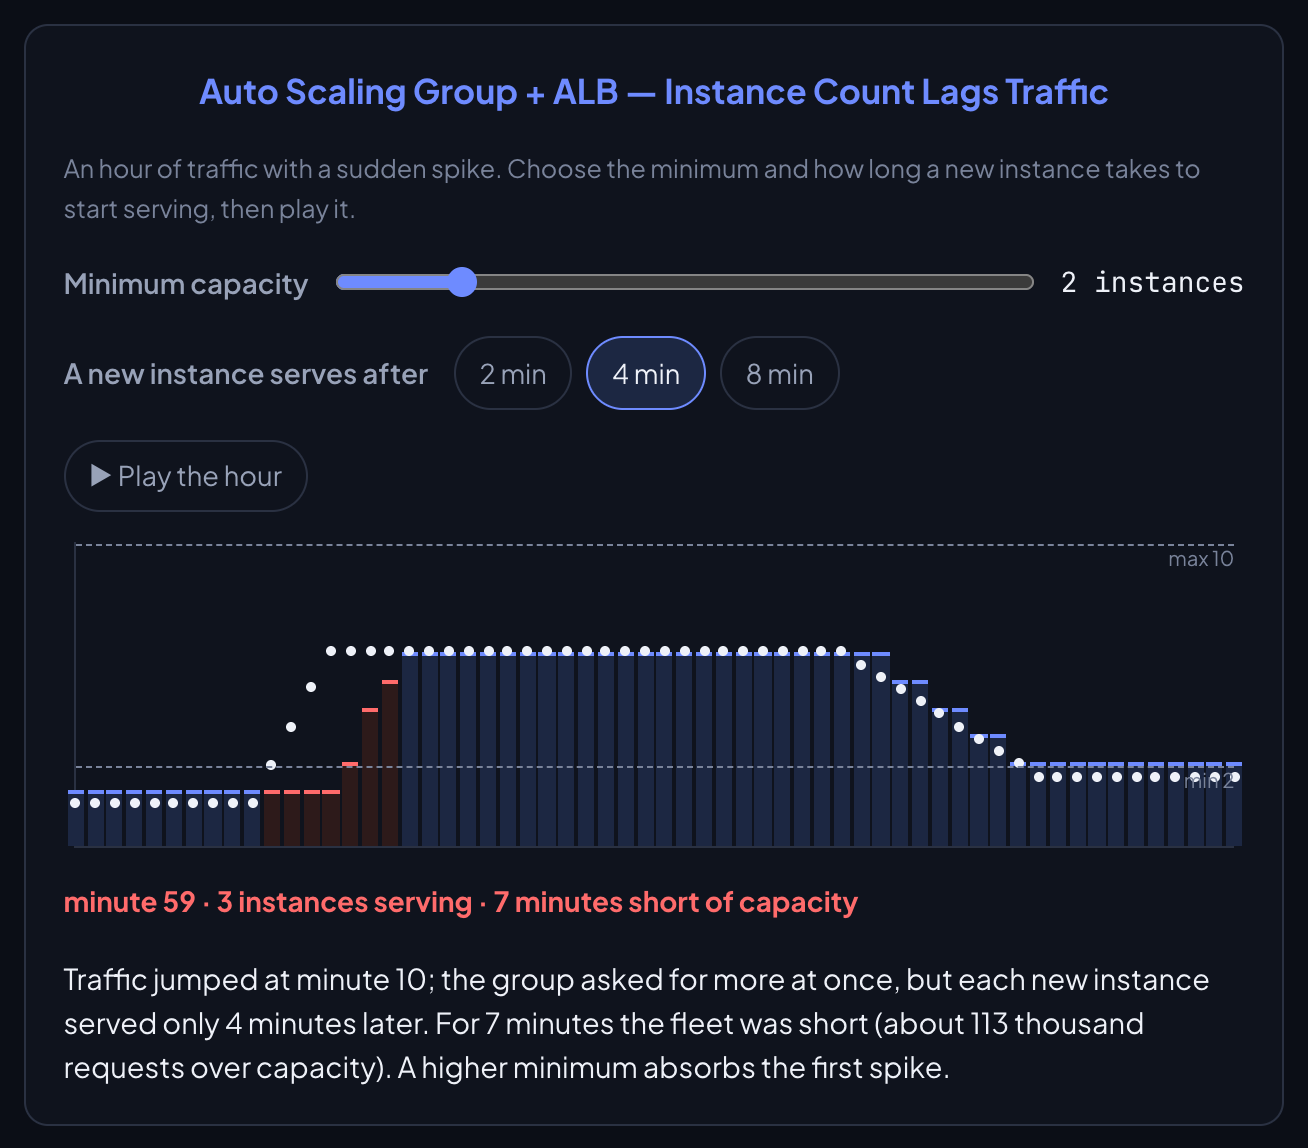
Hundreds of figures across the courses are live: you change them and watch what happens. A live figure can have:
- Sliders, each with its label and current value beside it.
- Chips, a row of choices where one is pressed at a time.
- Buttons that run an action.
- Play and Pause, for figures that step through a process. They pause by themselves when you switch to another tab.
If a live figure cannot load, the plain version of the same figure stays in its place, so the lesson still reads. Printed pages show the plain version too.
Live figures have a page of their own: every control with the mouse, by touch and from the keyboard, how they work with the narration and screen readers, and eight to try on free pages. See Live figures.
The Knowledge Check
Every lesson ends with a Knowledge Check. The Introduction, the chapter Overviews and the Flashcards page have none.
- Questions. Most quizzes have 4 questions; others have 3 or 5, and a handful 6 or 7. Nearly every question has 4 options.
- Order. The options are shuffled every time the page loads and every time you try again, so remember the answer, not its place.
- Answering. Click or tap an option, or reach it with Tab and press Enter or Space. You get one answer per question. A right answer turns green. A wrong one turns red, and the right one turns green beside it.
- Explanations. Once a question is answered, every option has its own explanation, the wrong ones included. On a computer, point at an option, or Tab to it, to read it. On a touch screen each option shows a small Why?: tap the option to open its explanation.
- Your score. When every question is answered, the quiz shows your score, such as You got 3 / 4 correct, and a Try Again button. Try Again clears every answer and shuffles the options again.
You pass when every question is right. Only then does the lesson get its green tick in the sidebar and count toward Quizzes and your daily goal; a score with one miss shows the result and marks nothing. See Learned, Quizzes and Flashcards.
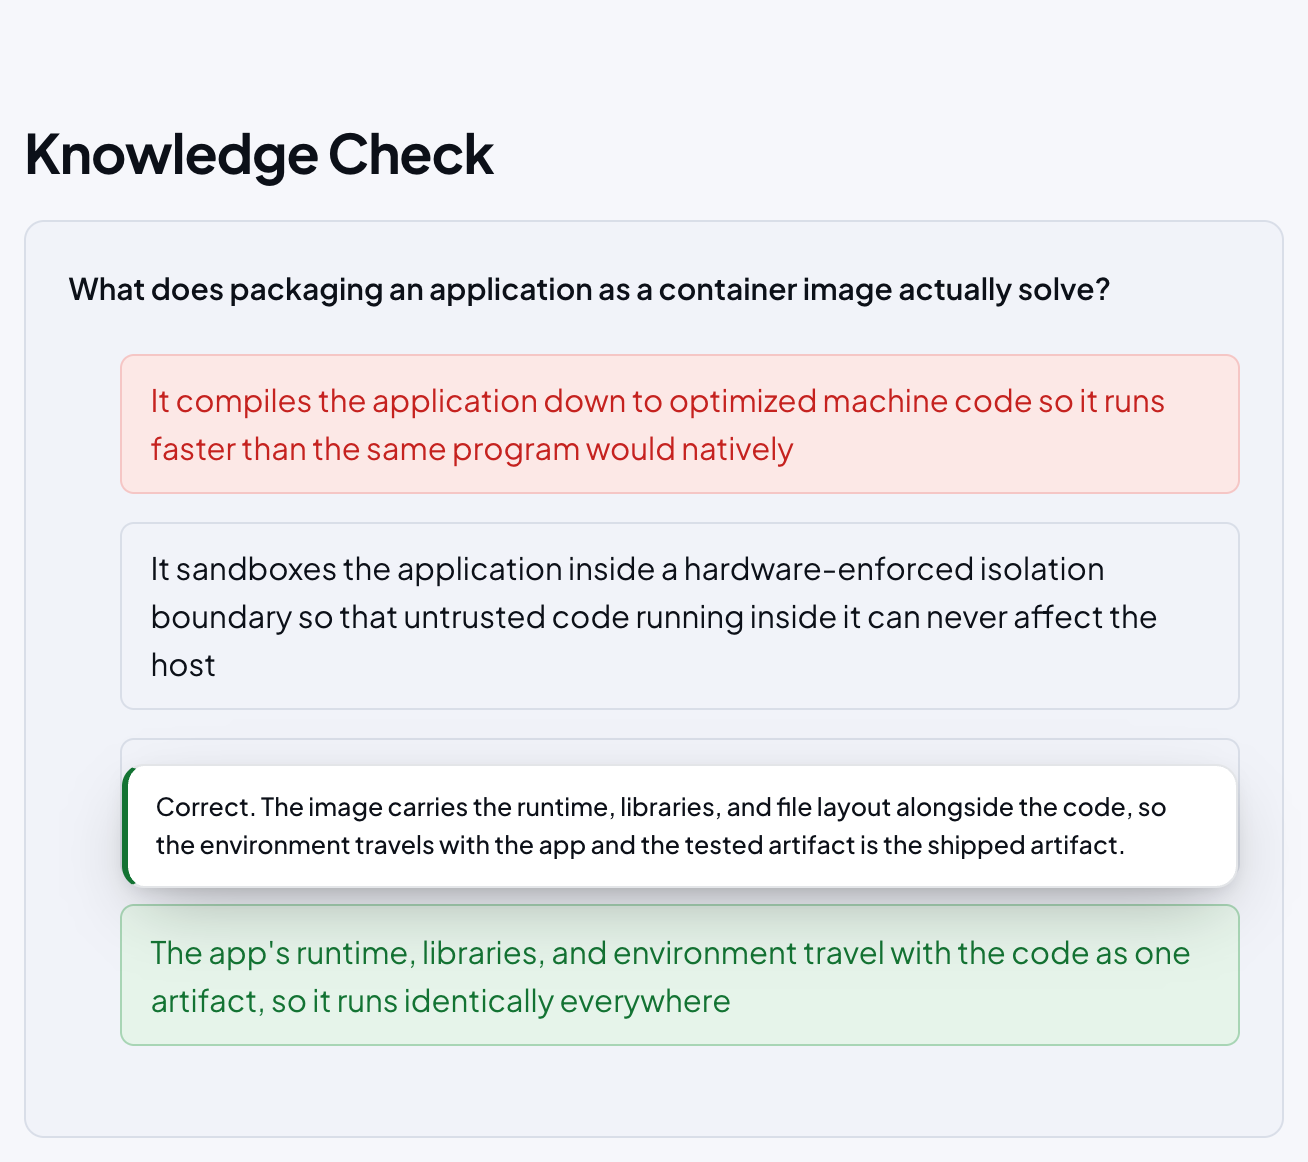
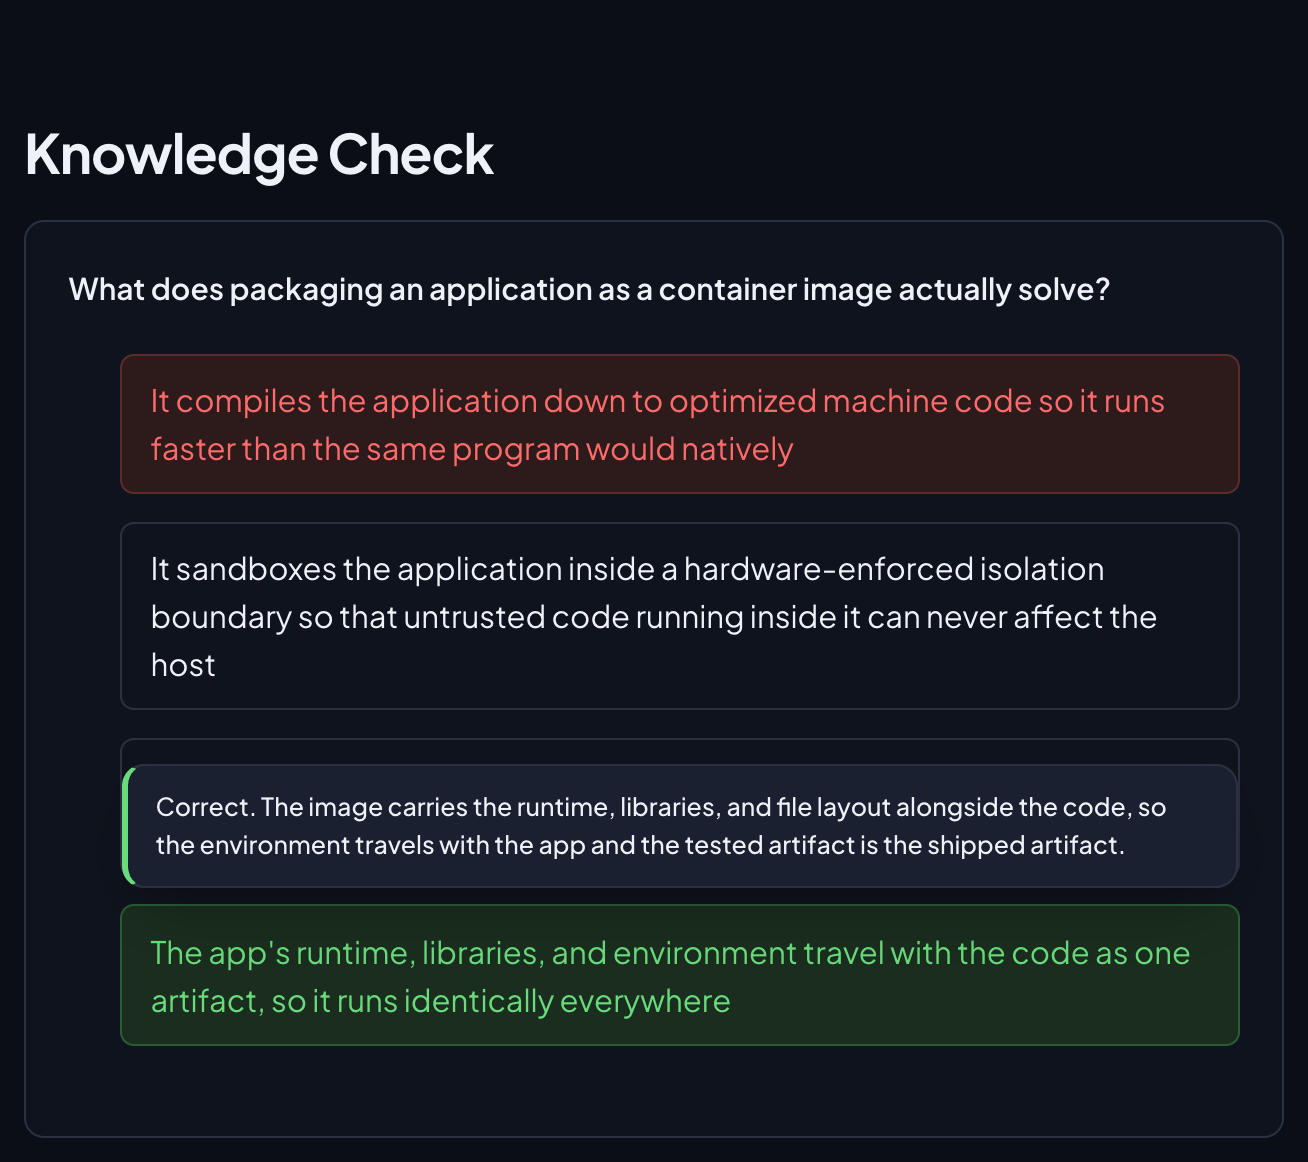
The quiz works without an account. The tick is then kept in this browser, and it moves to your account when you open the lesson signed in: see Signing in. While you answer, the audio bar's readout counts your right answers: Knowledge Check 2/4.
Locked pages
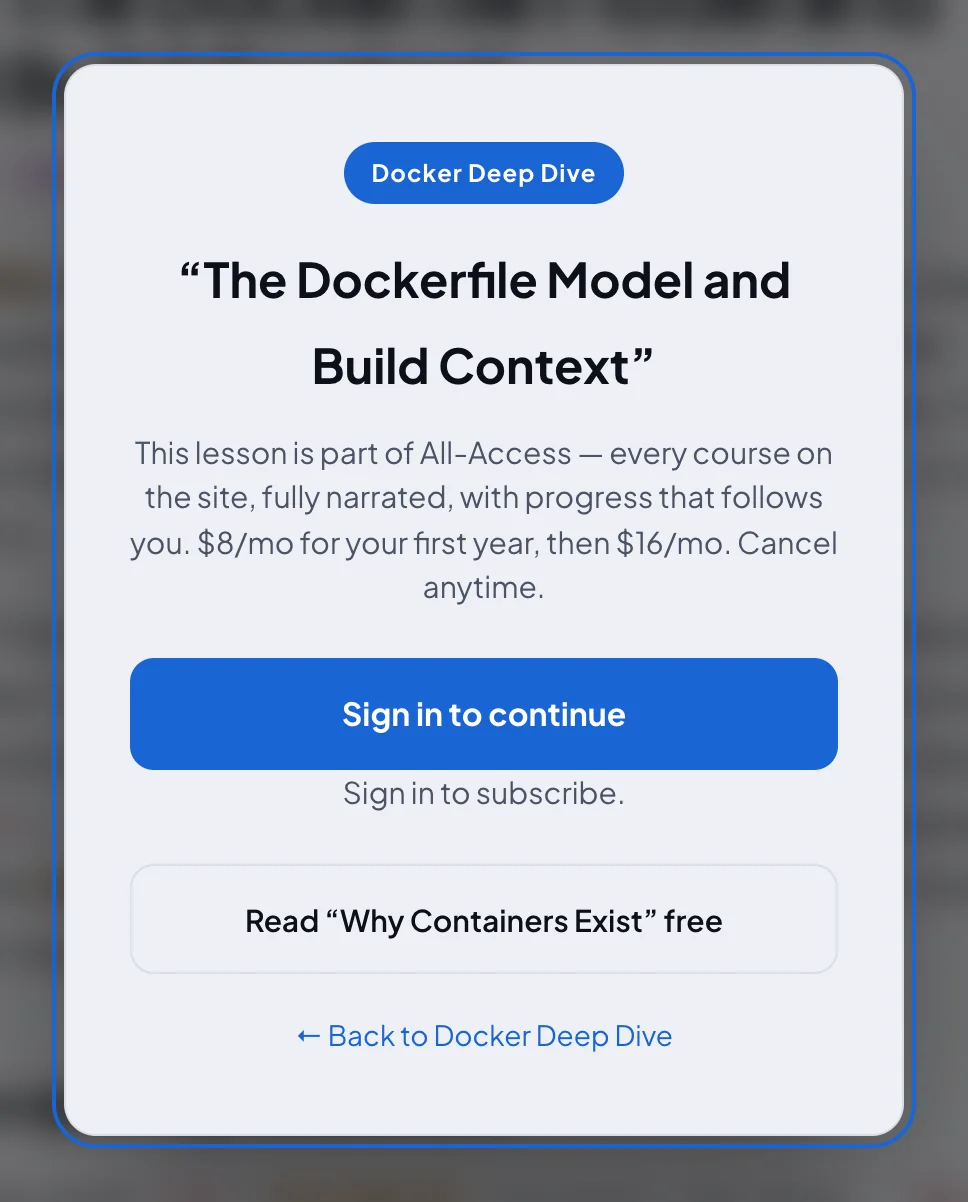
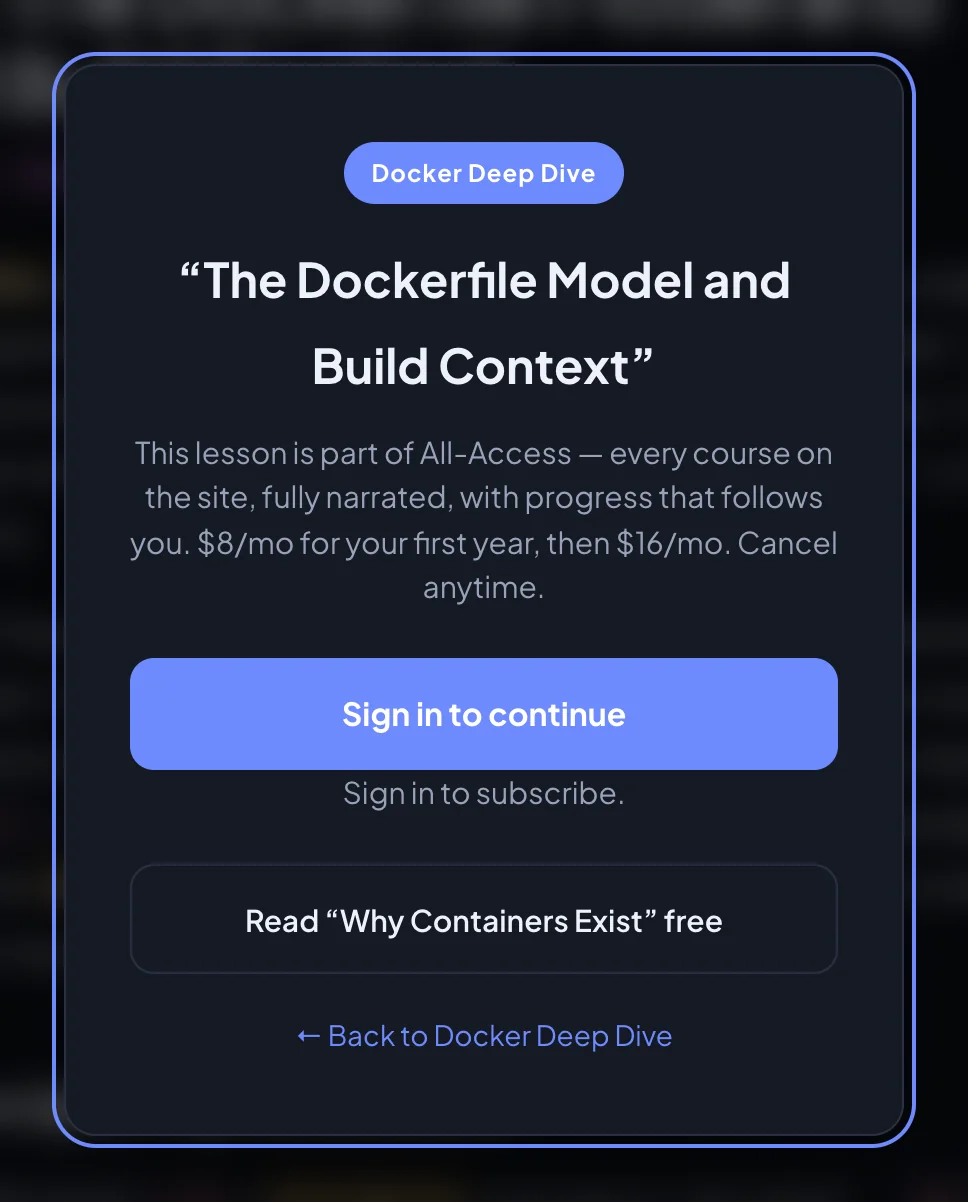
Open a page that is not free without a membership, and the page stays where it is, dimmed and blurred, under a card that explains it. Nothing redirects you, and you can always step back to the course.
- At the top, a badge with the course's name.
- The lesson's title in quotes, so you know what you opened.
- A line saying the lesson is part of All-Access, the membership: every course on the site, fully narrated, with progress that follows you.
- Signed out: a Sign in to continue button, which opens the sign-in window, and under it Sign in to subscribe.
- Signed in: the plans to choose from and a Subscribe button.
- Two ways out. Read “…” free, with the title of the course's first free lesson, opens that lesson. ← Back to, followed by the course's name, opens its Introduction.
The price line reads $8/mo for your first year, then $16/mo. Cancel anytime. Signed in, the plans are Monthly $8/mo and Annual $60/yr; pick one and click Subscribe, which says Opening checkout… and takes you to the payment page. When you have paid, you come back to the lesson you were on, now open. See Subscribing.
Three other versions of the card:
- Your subscription could not be checked. Signed in, but offline or without an answer from the server, the card says Couldn't check your subscription. Check your connection and try again. with a Try again button instead of the plans, so nobody who already pays is asked to pay again. It checks again by itself when the connection comes back or you return to the page, and the lesson opens if you are a member.
- Free course of the month. The badge reads Free this month, the card says the course is this month's free course and needs no card, and the button is Sign in to continue. Once you are signed in the whole course opens. See Free course of the month.
- A membership with a payment problem. If your membership is stopped by a failed payment, the card names the problem and its button, such as Update payment or Open billing portal, takes you to Settings to fix it. See Payment problems.
The narration never plays on a locked page: the audio bar refuses to start until the page is open to you. The Flashcards page locks the same way; there the card says This page instead of This lesson.
Light and dark
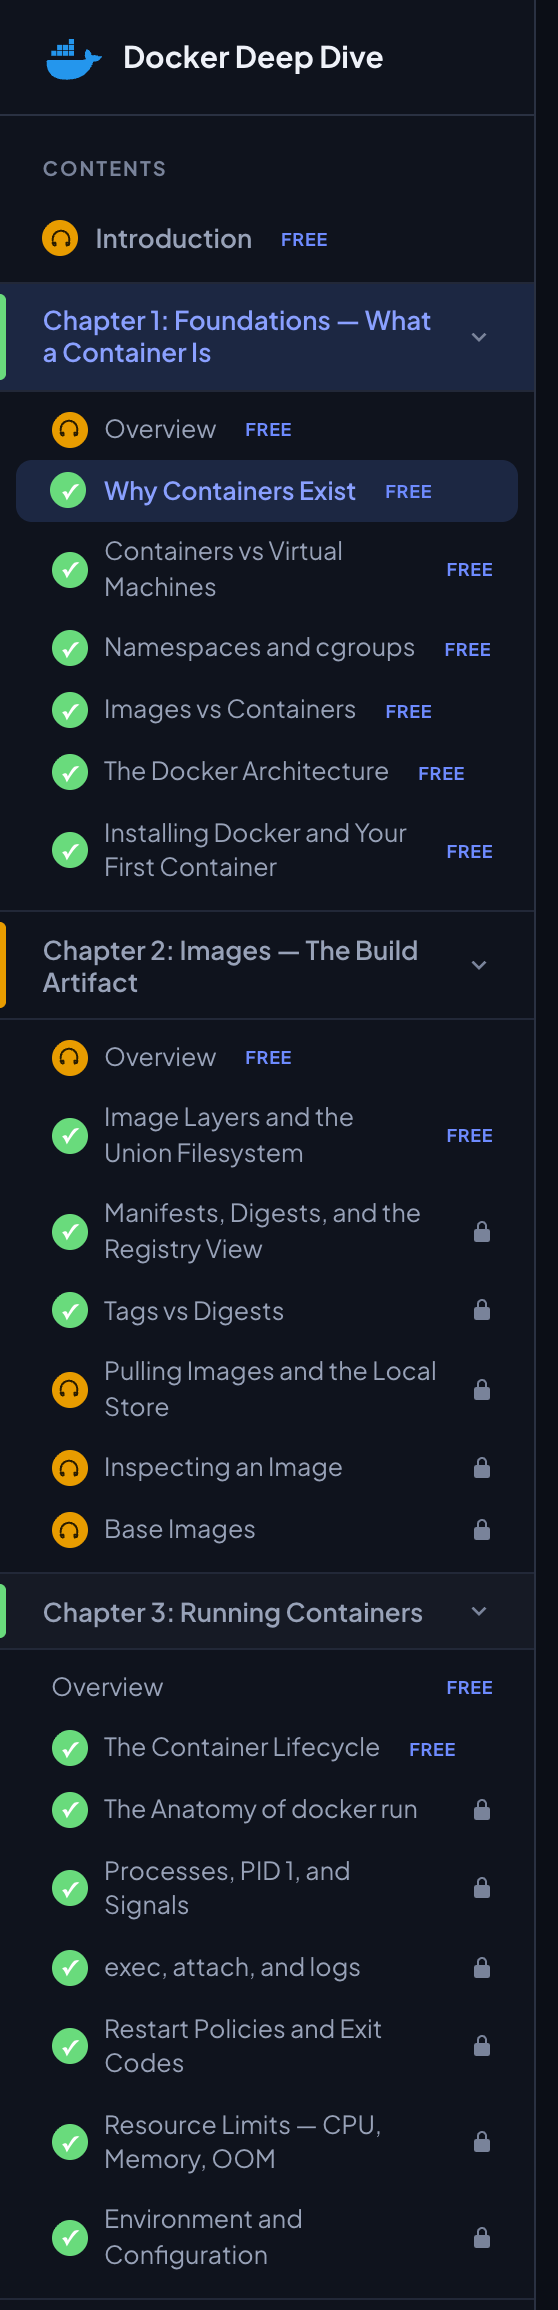
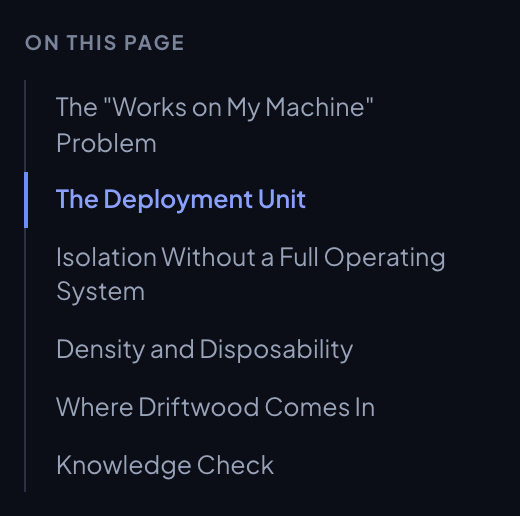
The theme button in the top bar switches between light and dark. It shows a moon in the light theme and a sun in the dark one. The website starts in dark until you choose.
The choice applies to every page of the site, and signed in it follows your account to your other devices. The same setting is in Settings, Appearance.
Lessons in the apps
The iPhone, iPad and Android apps show the same lesson pages, with the same text, figures, live figures, term tooltips and Knowledge Check. The frame around them is the app's own:
- No top bar, sidebar or On this page. The reader bar along the bottom takes their place: see Listening in the apps.
- The course contents. The first icon on the reader bar, Lesson list on iPhone and iPad and Contents on Android, opens the course's pages in a sheet. Reset progress is its last row.
- The course screen. Each course also has a screen of its own in the app, with its chapters, a button to start or continue, Practice flashcards and Download for offline. See Finding your way.
- Zoom. Pinch to zoom a lesson or the Flashcards page.
- Locked lessons. The app shows its own locked screen: the lesson's title, the course it belongs to, and Subscribe, or Sign in if you are signed out. See Buying and restoring in the app.
- Daily goal. A flame lights in the reader's top bar on days you have met your goal.